Back in May I was lucky enough to travel to the Big Island of Hawaii for a week long vacation. We did a lot of really amazing things … like scuba diving with Manta Rays, or jumping off 40 foot cliffs at the southern most point in the U.S.A … but by far the most breathtaking part of the vacation was our visit to the lava! The lava flow moves east and west along the coast and you can never predict where the lava will be flowing at a given time (see map below). Lately, the flow has been about 2 miles from the town of Kalapana. This meant a fairly easy 4 mile roundtrip hike out to the lava and back. It is highly recommend that you go with a trained guide, should you choose to go to the lava.

We debated for a long time about which guide we wanted to go with, if at all. Having 2 Eagle Scouts and 3 well trained hikers on the trip we assumed we could do it ourselves. In the end we relented and signed up for a 4:30pm group tour with the Kalapana Cultural Tours. Turned out to be $90/person, which was a lot cheaper than the $150/person for a private tour or the $350-750/person that Bruce and Tom over at Extreme Exposure Gallery wanted (but those guys are great pro’s who will take you to get great photos). I’ll discuss the different tour options at the bottom of this post.
A couple years ago the lava almost completely destroyed the town of Kalapana. The part that survived is where we met the tour group and they shuttled us over in vans to where the lava field started. From here it was a 2 mile walk on top of the lava. The lava can be really sharp, jagged, and uneven so we had to make sure to watch our steps. In the photo below you can see the lava we walked over, as well as a small patch of forest that survived the flow that destroyed most of Kalapana.
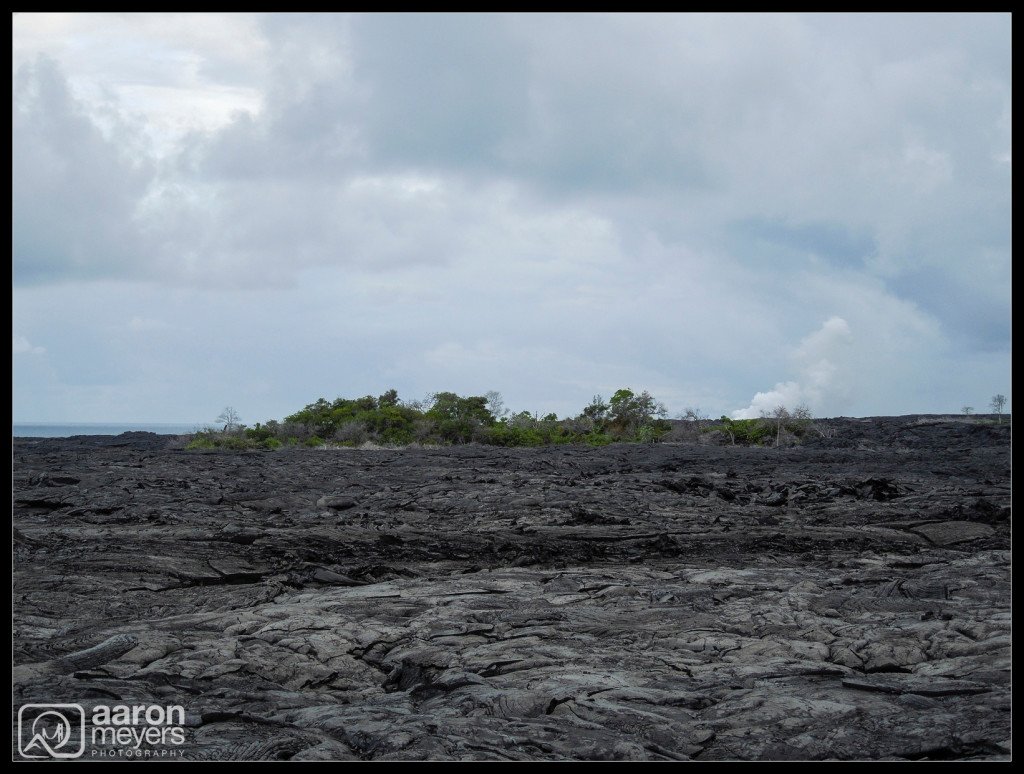
Along the hike we stopped a couple times to make sure the group could drink water and catch their breath. It was overcast so the temperature stayed down and we weren’t getting beat on by the sun. Definitely nice to not have to lug even more water with us. Luckily the guides had extra water just in case. At one point we stopped to learn about the plant-life that was growing out of the lava. Several stories and almost 45 minutes later, we were back on the way. I was getting ansy because sunset was coming and it didn’t look like we’d make it in time! AHHH!
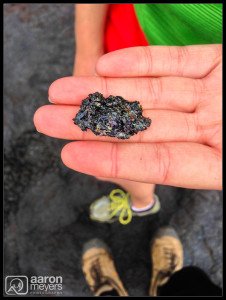
Lava is filled with a lot of different materials: silica, aluminium, potassium, sodium, calcium, magnesium, and iron. I picked up a piece of hardened lava and was surprised at all the colors that you can find in it!
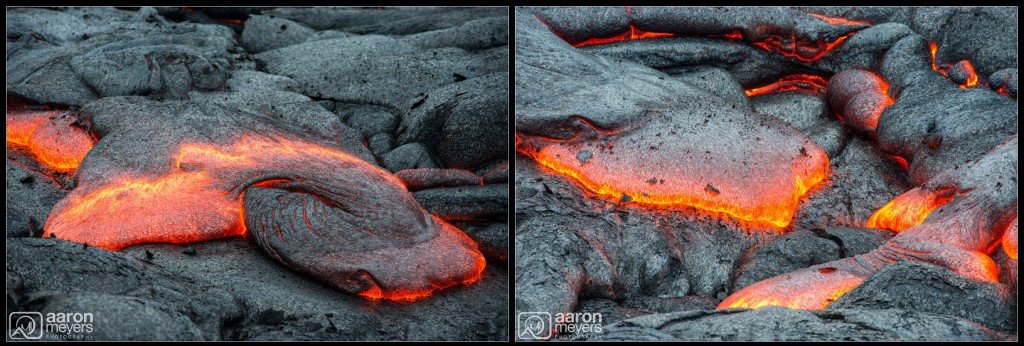
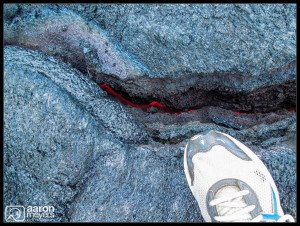
As you walk along the lava you can see the steamy plum of lava entering the ocean in front of you. It gets bigger and bigger as you get closer. We could tell we were almost there when we came across our first exciting moment … SURFACE FLOW! Here, lava has bubbled out of the lava tube and is flowing along the surface at about 2,000ºF! I immediately took out the camera and tripod and began snapping away. I was surprised how close you could get because the lava moved so slowly! And instead of sliding as if it was on ice, it oozed out of where it has been seconds earlier. It also cools very quickly and I’m pretty sure we were standing on lava from the previous day!
Of course we all took our picture in front of the super hot lava. We just had to, of course! We had to be quick about it because not only was it hot, but it felt really humid too. Also, we wanted to get over to the ocean entry before sunset and time was ticking (thanks to the super long breaks we took, argh!). It was really interesting because you could see … and feel … that the lava was flowing beneath where we were standing/walking. My shoes started to feel a little sticky on the soles. Creepy!
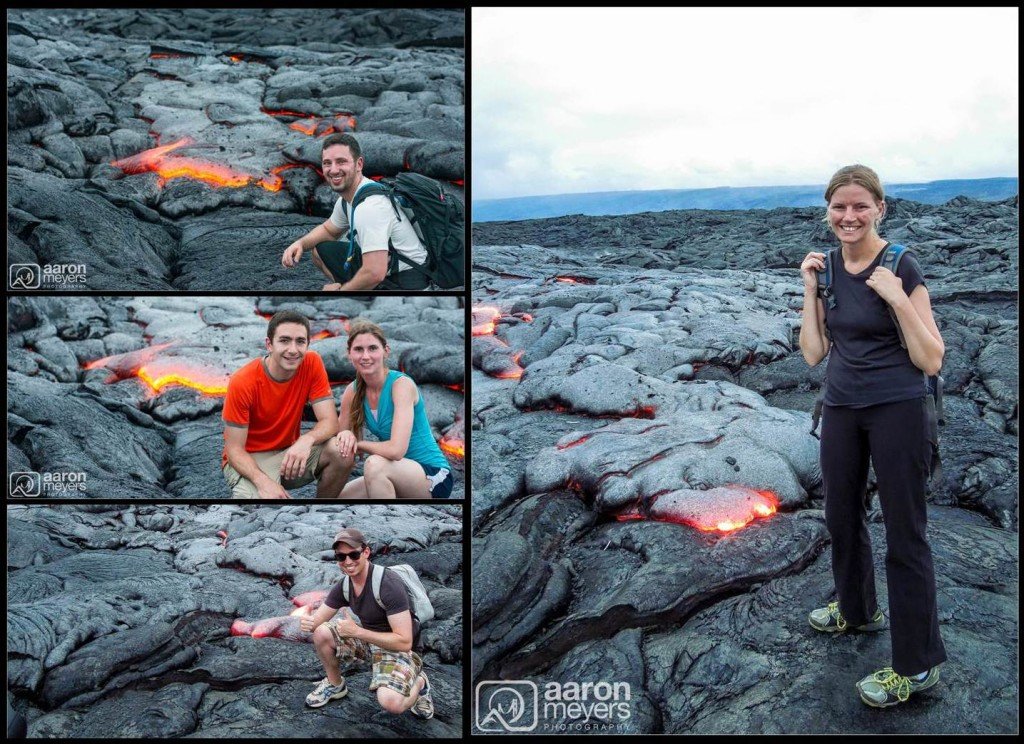
Of course we also had to do the standard “show over hot scalding lava” shot!
Once we had our photos taken in front of the lava it was time to head over to the ocean entry. People were still taking their photos at the surface flow and it was getting dangerously close to the time of best light so I asked one of the two guides to take me over to the ocean entry. Fortunately he said “no problem, sure!” Turns out the whole group ended up coming too. At this point they also handed us flashlights because it was going to get dark and they wanted to make sure nobody got hurt.
When we got to the Ocean Entry it was absolutely breathtaking. There was a rocky shelf high up and a bit in front of the lava flow and everyone was standing around there watching it (and taking pictures of course). This is as close as the group tour was going to take us. Had we done a private tour, or gone with Bruce/Tom over at Extreme Exposure, we may have gotten closer, but this was good for now. We sat back to enjoy!
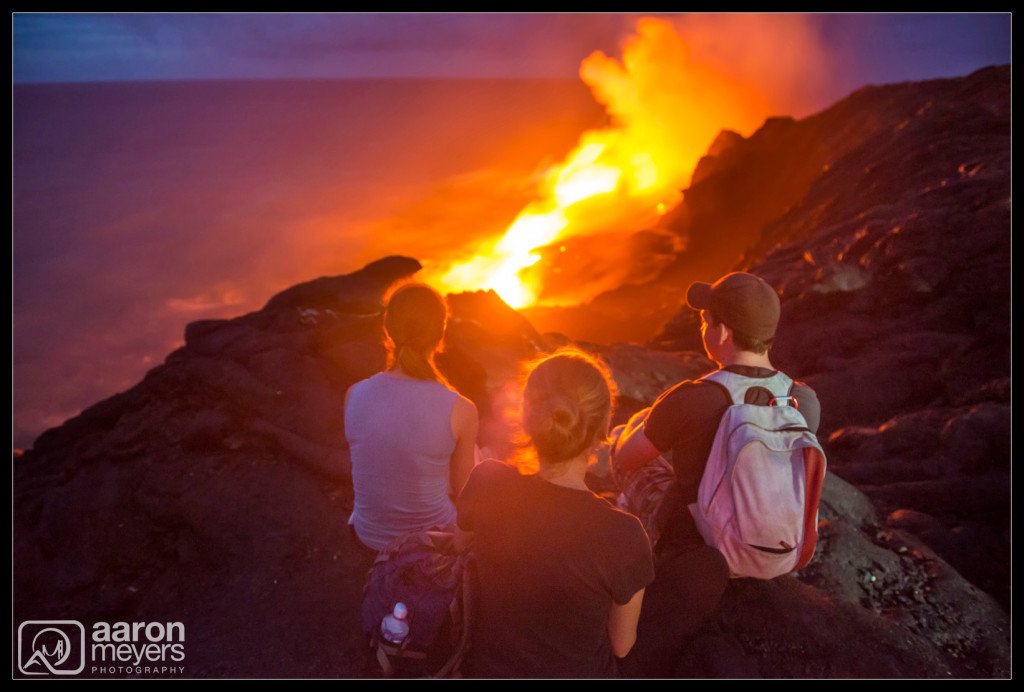
Because we were kinda far away, I threw on my Nikkor 80-200mm f/2.8 AF-D lens onto my D800, setup my tripod and began clicking away. In all I think I took something like 500 photos! I won’t bore you with that many, but I will show you a few of my favorites.
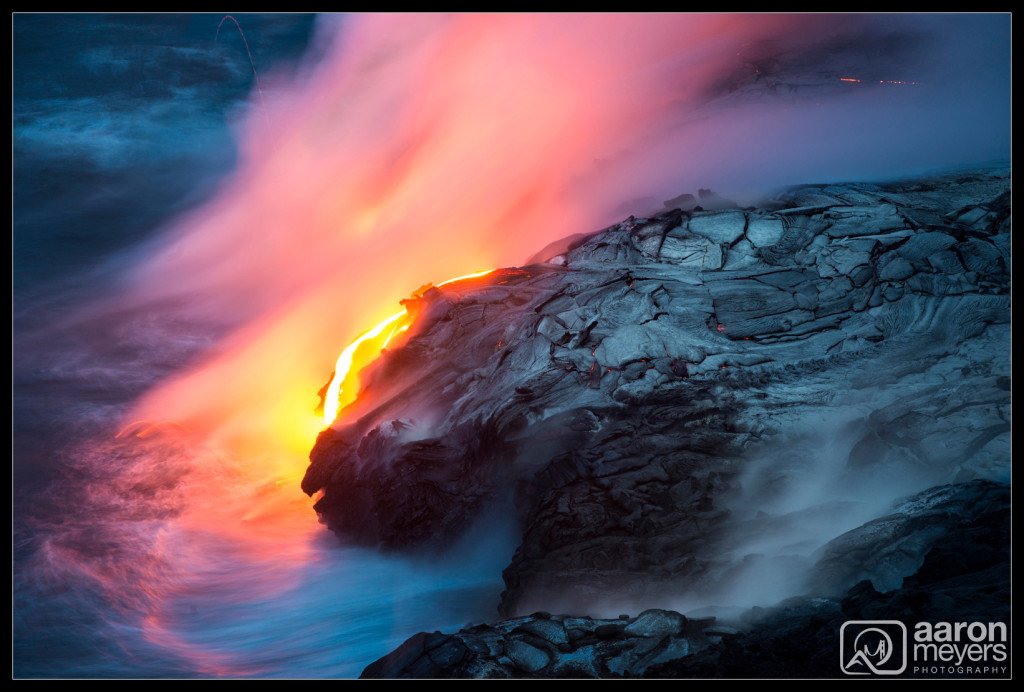
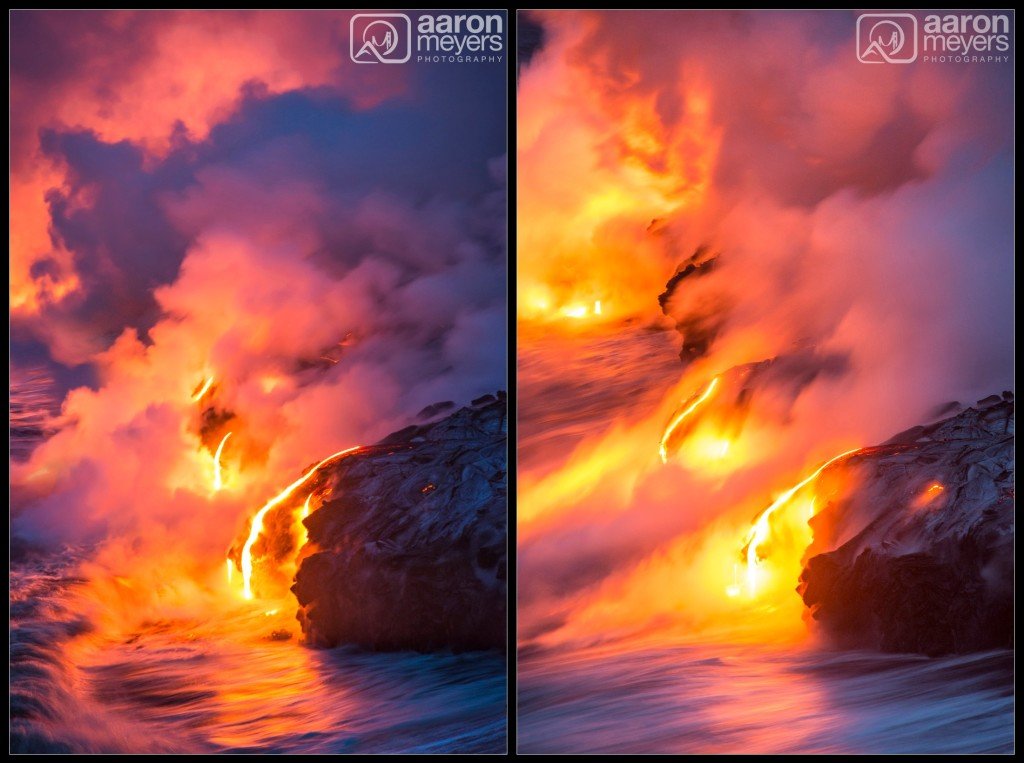
At one point I realized that our spot had some obscurities and I ended up moving back and to our left to get a better view. Here, I captured my photo “Fizzle Sizzle”. I knew that I wanted a photo to capture the motion of the water as well as the steaming hot lava. I used a 1/4 to 1/2 second exposure for the water motion and then took a second photo, exposed for the lava, and blended the two together. This photo reached #4 on 500px.com the day I posted it, and was also featured as Outdoor Photographer Magazine’s Photo of the Day for July 15, 2013, was posted on SmugMug’s Facebook page, was posted to Milky Way Scientists Facebook page, and was selected as a finalist in Popular Photography‘s June 2013: Your Best Shot! I’m pretty excited about how well received this photo was:
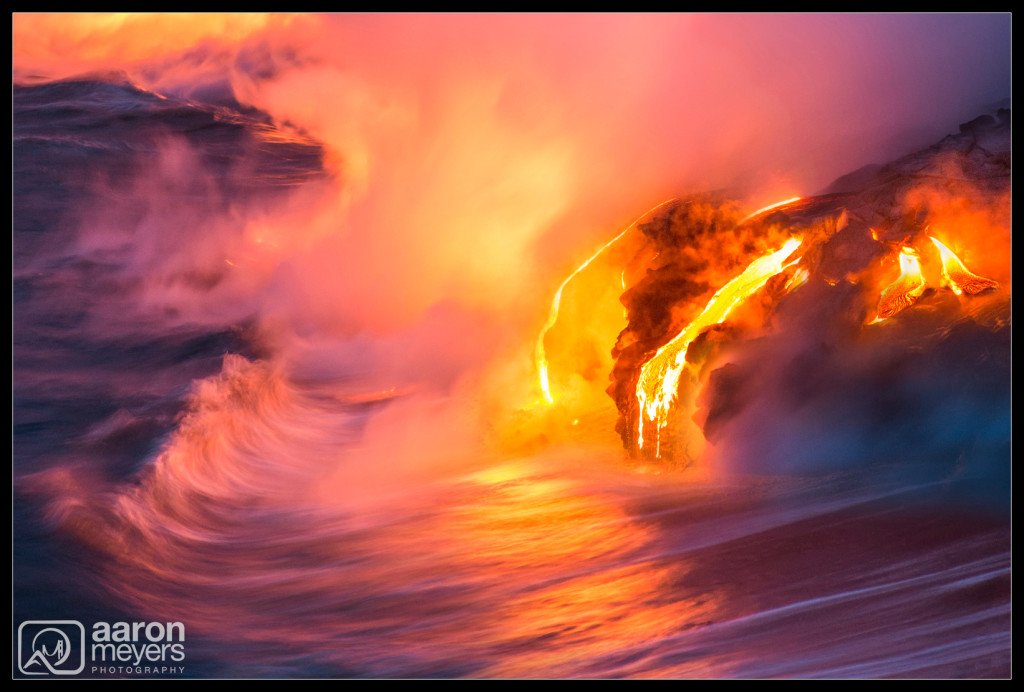
- My photo: Fizzle Sizzle of Lava Entering the Ocean
I just loved capturing the water motion with the lava! Unfortunately we had arrived a bit later than I wanted and although the pink, purple, and red colors had come out, the scene got too dark compared to the lava and instead of beautiful orange well defined lava photo, I got mostly clipped, white streaks.
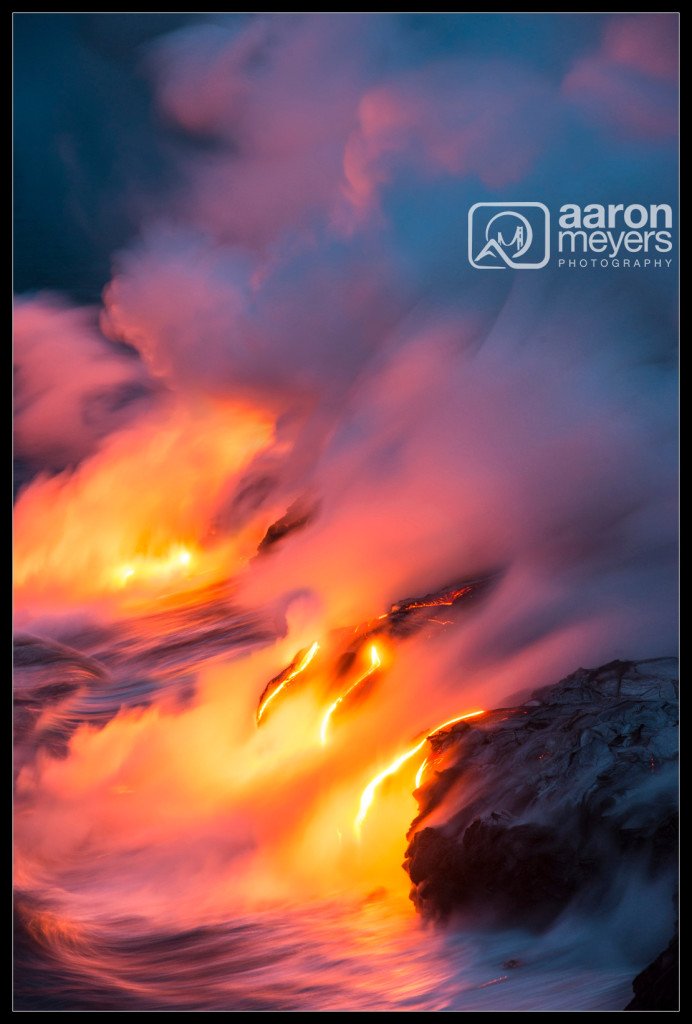
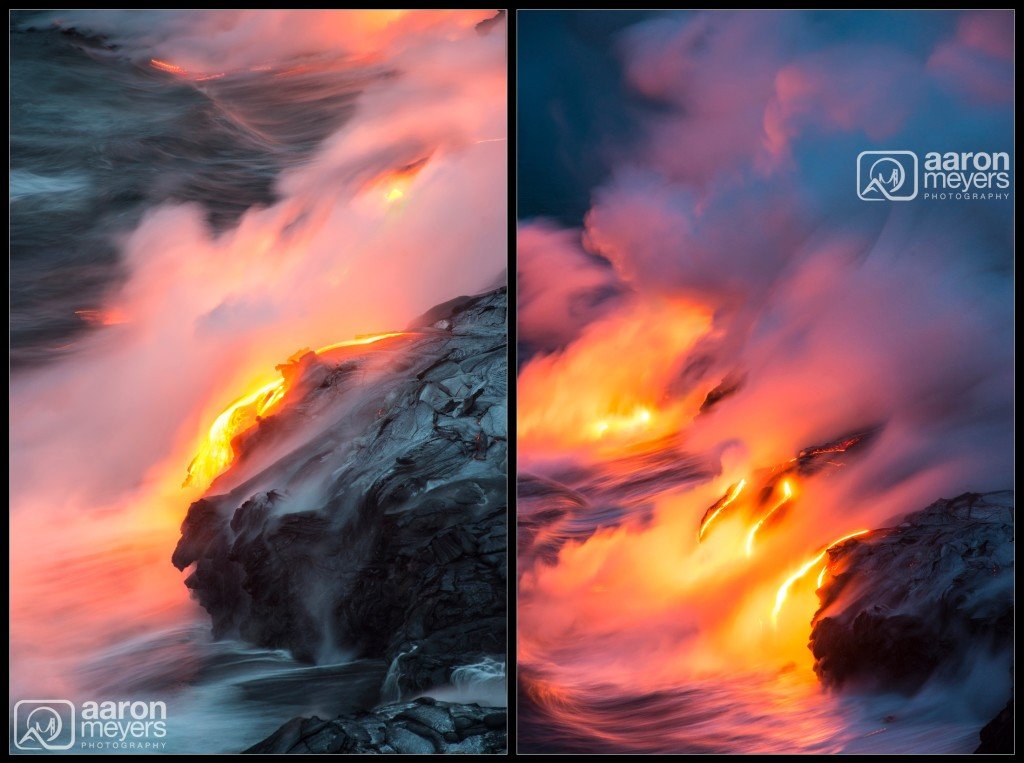
To combat this problem I knew I had to darken the exposure. But I also needed to keep the shutter speed quick or the lava would blur and not look sharp and well defined. Turns out that I had to bump the ISO on my camera up to ISO4000 or ISO5000 just to get a quick enough shutter speed! As the light faded the lava became brighter, compared to the dark rock, and I took a number of neat scenes of the lava! Additionally, as we watched, 2 new streams of lava poked through the lava tube and began making their way down into the ocean.
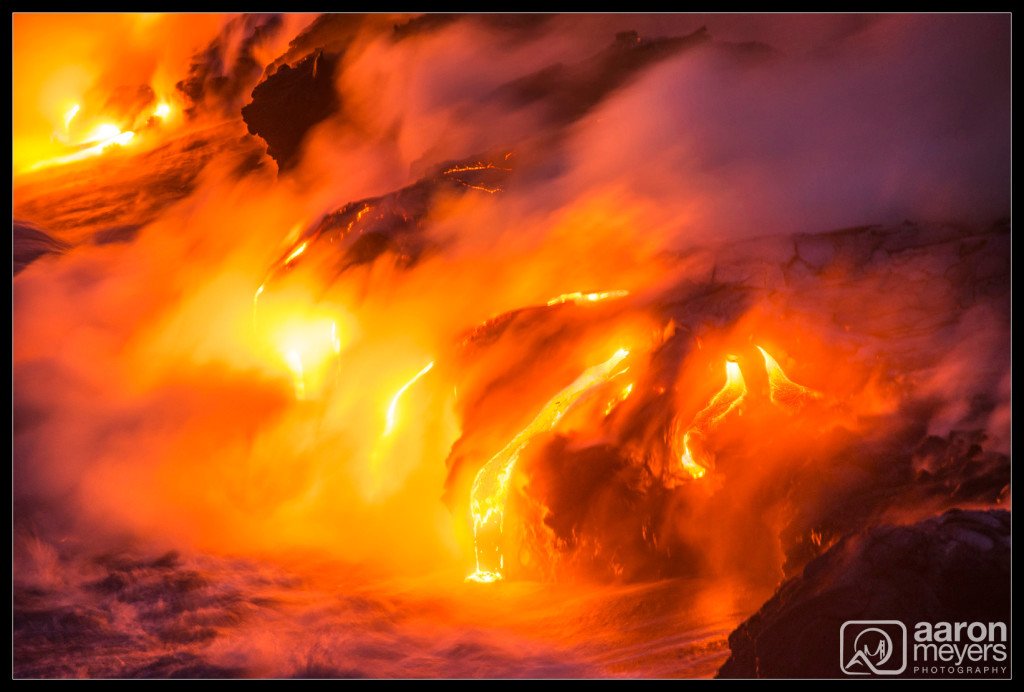
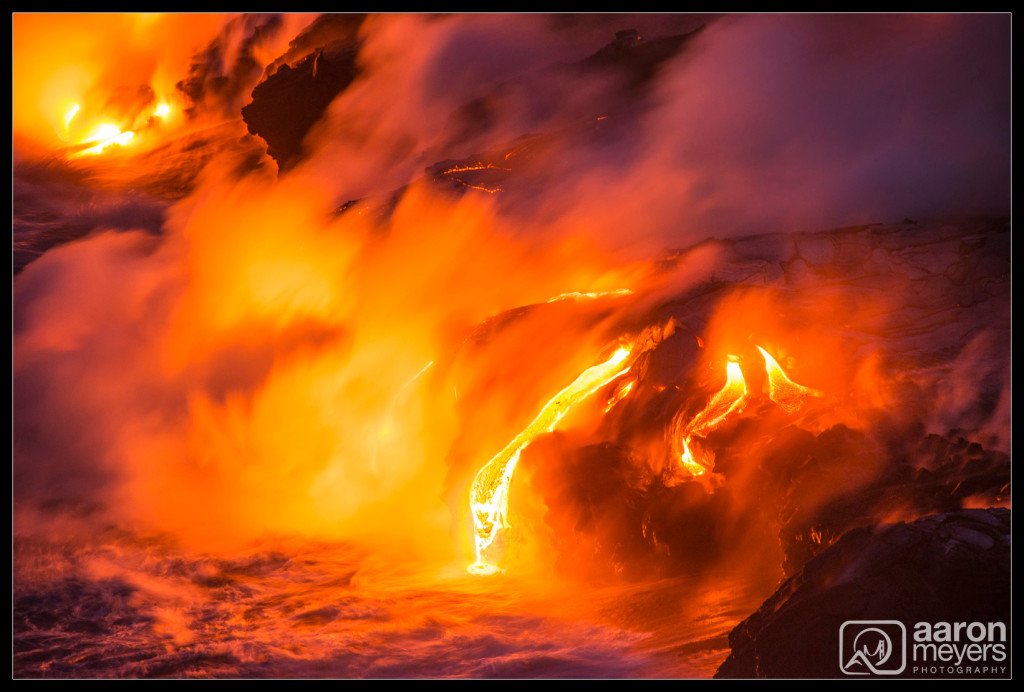
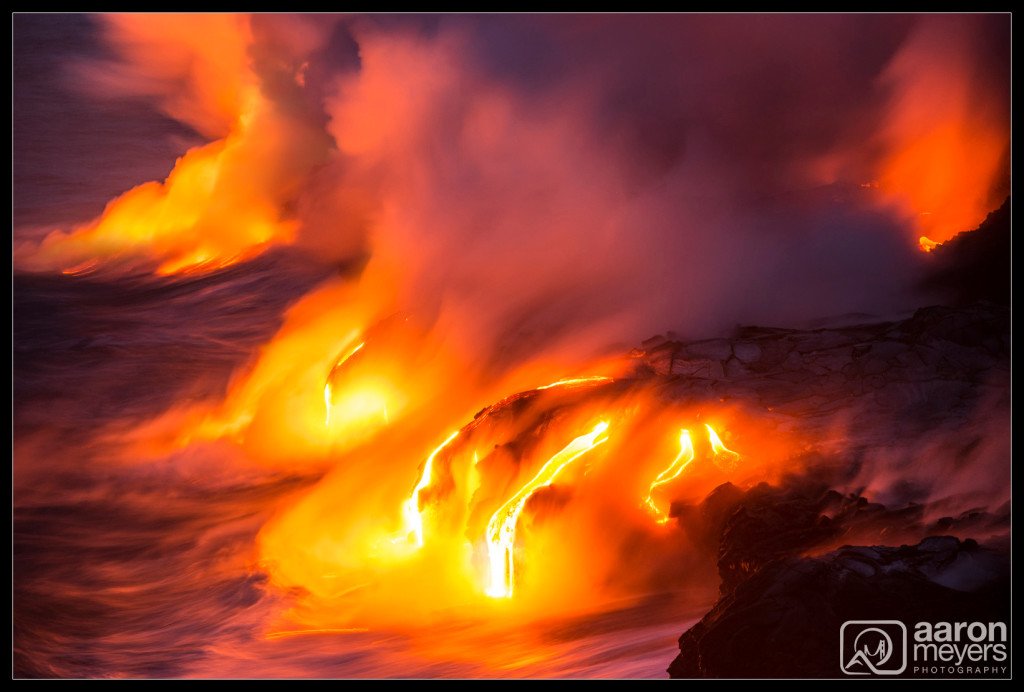
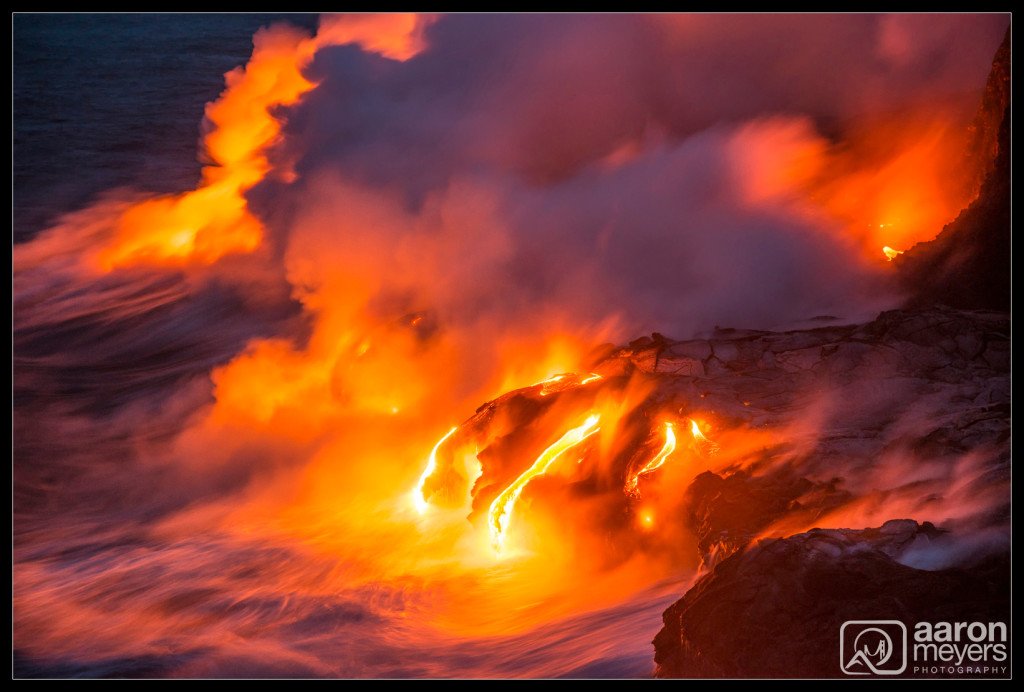
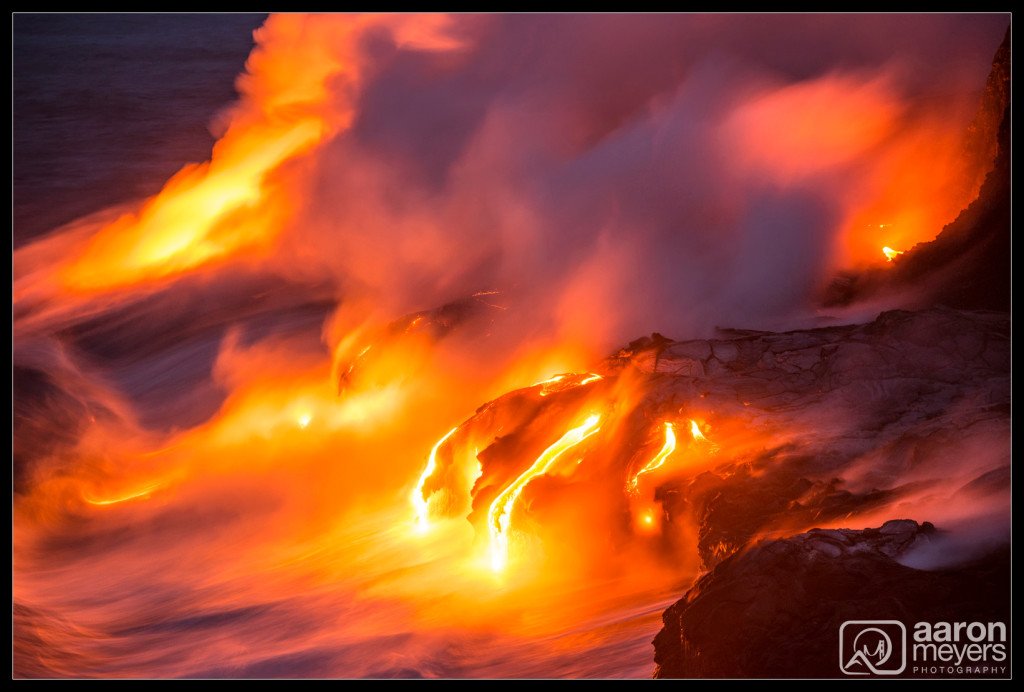
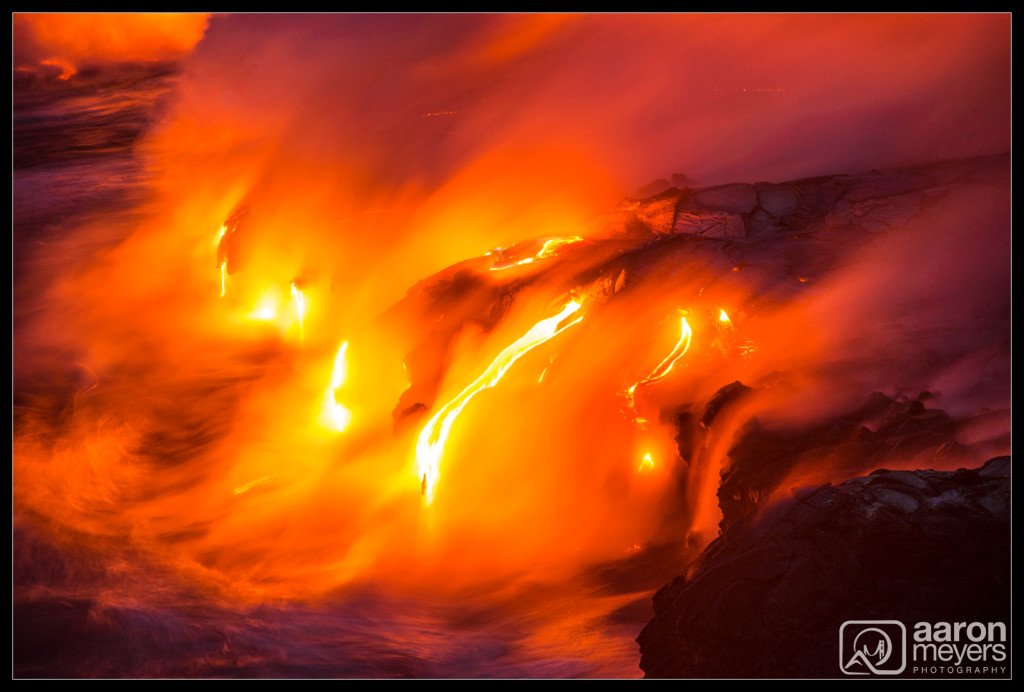
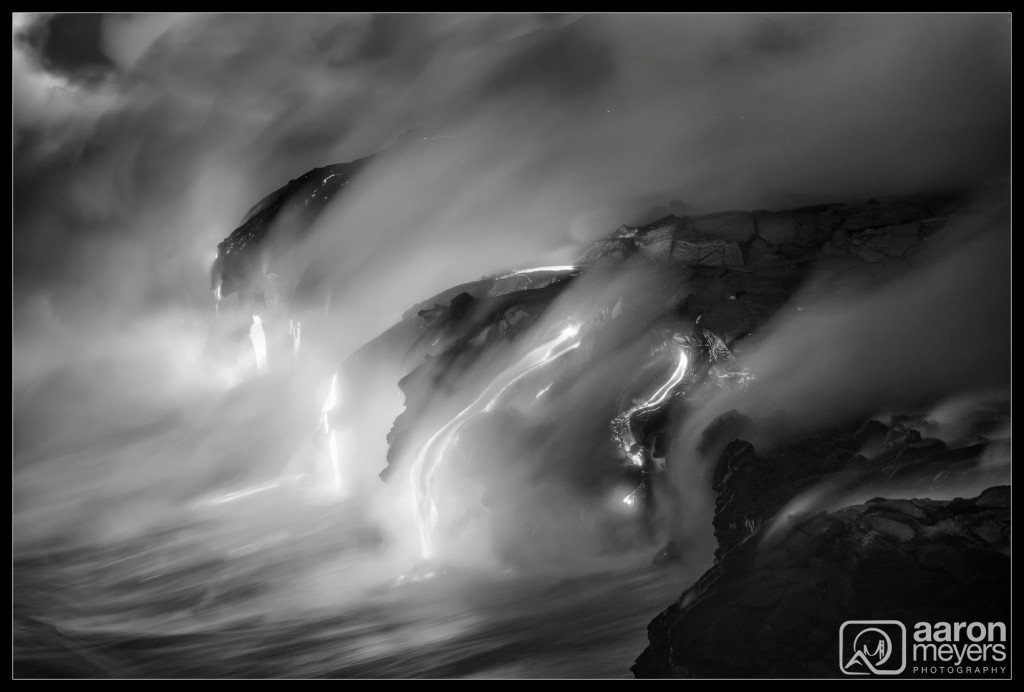
One photo I really wanted to take, but never got, was of the explosion of rock and lava coming out of the tube. If done with a long exposure it can look almost like fireworks. Although I didn’t get to capture any of this, I came close and got a couple of streaking lava photos:
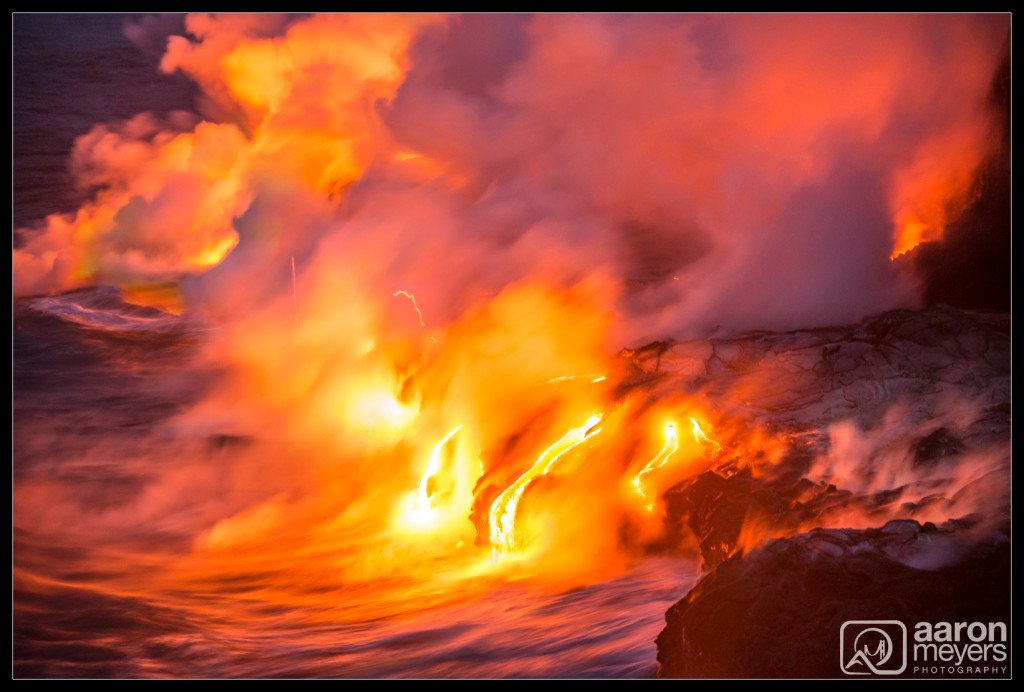
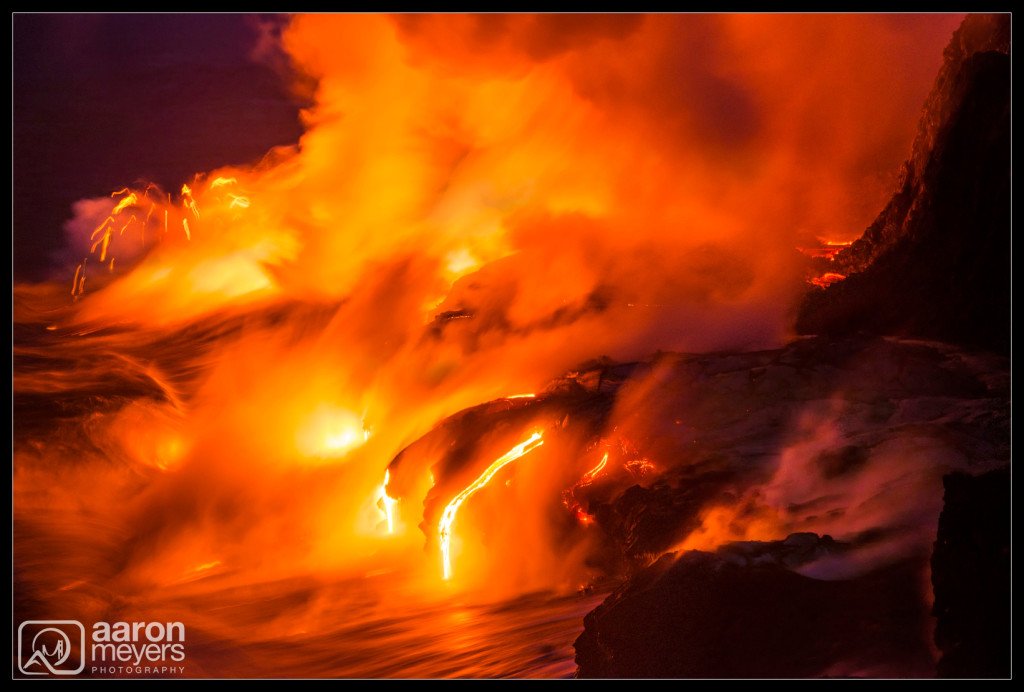
Once the light started to die and the purple and pink colors faded, I decided to pack up and try to enjoy the last couple of minutes with my friends. What a spectacle! The 2 mile hike back went much quicker, as we only stopped briefly once or twice. We then left Kalapana and drove back to Volcano National Park, where we spent the night in one of the “Volcano House”‘s tent cabins (although much nicer than the mice-infested ones in Curry Village at Yosemite National Park). Andy and I spent an hour or so at the Kilauea Caldera where we photographed the clouds, the moon, and the light from the lake of lava inside the crater:

We finally went to bed around midnight, with intentions of waking up and going back to the lava in the morning. We would have had to wake up at 3am. That never happened. It was vacation after-all! Good decision too, because later we found out that someone was murdered out there that morning! I hope you’ve enjoyed my photos of the lava!
Hiring a Guide to see the Lava:
There are a number of tour companies that will take you out to the see the lava. Do you need one? The short answer is: YES! If you don’t, you could be fined, or worse, injured or killed. I’ve heard of many stories of deaths out on the lava and some of my good photographer friends have shattered their legs and fallen into lava tubes, despite having been out there >300 times previously! Always go with an experienced and certified guide. I will limit my discussion to 2 tour companies and discuss 2 options:
Group Tours: These tours are cheaper and get you out to see the lava and back. The guides usually carry some (extra) water, snacks, flashlights, and first-aid gear. The down-side is that there will be other people in the group and you will be limited by their pace. It also restricts where you can go. You are also restricted to the departure times set by the tour company.
Private Tours: These are usually more expensive but are much more flexible and are limited to your own group. You can depart when you want, for example, if you want to be there for sunrise, and you aren’t slowed down by young children or elderly folks. You may be able to request certain locations as well.
- Kalapana Cultural Tours: I think these guys are the most well known. When we were out there we saw maybe 5 or 6 other tour companies but our research pointed us to these guys. For $100/person you can go as part of a group. We got a 10% discount for having 5 people. You can do a private tour for $150/person and they’ll depart whenever you want. If you want to do a morning tour, make sure to arrange ahead of time so they can find a guide that’s willing to get up at the crack of dawn with you!
- Extreme Exposure Gallery: Bruce and Tom run this gallery and they also run 1/2 and full day photography tours. Although I didn’t go with them, they were recommended by every photographer I’ve talked to. I’ve seen some absolutely amazing photos from them, including one featured in the 2013 Smithsonian Photography Competition, as well as many amazing photos from people who have gone out with them. They are price, however. The first photographer is $750. Additional photographers are cheaper, but tag-alongs (non-photographers) are still in the $200-300 price range. A lot more than Kalapana Cultural Tours! Bruce and Tom know the best spots to go. They know how to keep you safe. And they know when to get out there. You’re basically paying an arm-and-a-leg for them to risk their lives and keep you safe. Instead of taking you to the standard cliff that I was on, they’ll take you to the other side, they’lll take you to a beach, they’ll take you to get the best shots. As Miles Morgan mentioned, the price was well worth it because he ended up selling over $750 in prints! There’s obviously pro’s and cons. Someone like me won’t sell that much in prints so I opted for the cheaper tour.
